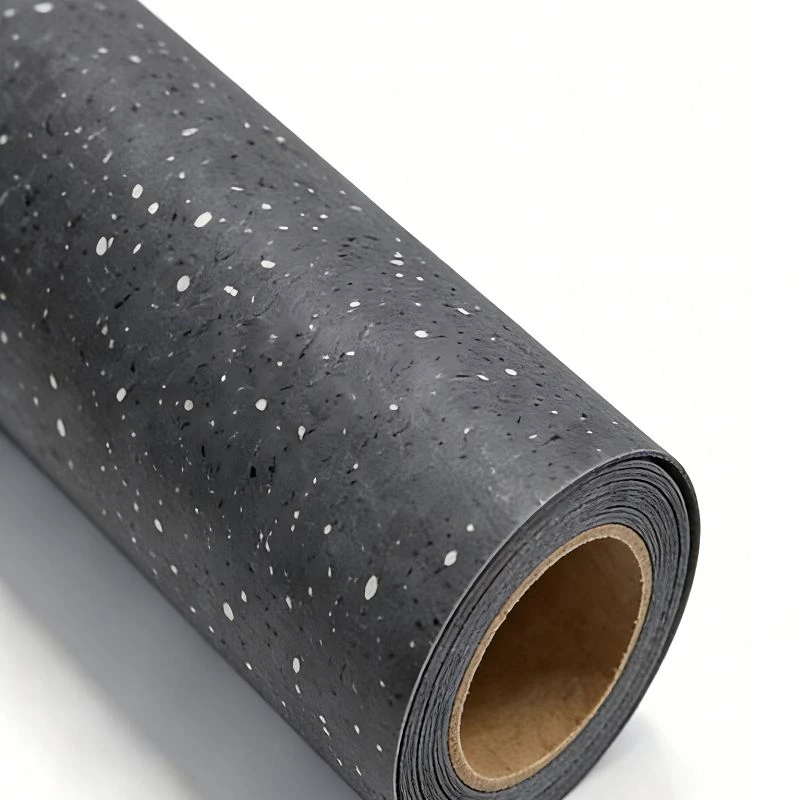
Hey there! I’m a supplier of ESD flooring, and I’ve seen firsthand how installing ESD flooring can be a game-changer for spaces that require electrostatic discharge protection. Whether you’re setting up a lab, a manufacturing facility, or a tech workspace, ESD flooring is crucial. And guess what? You can totally install it yourself! In this blog, I’ll walk you through the whole process step by step. ESD Flooring
Why ESD Flooring?
Before we dive into the installation, let me quickly explain why ESD flooring is so important. Electrostatic discharge can damage sensitive electronic equipment, cause malfunctions, and even pose safety risks. ESD flooring helps to dissipate static electricity, protecting your gear and keeping your workspace safe. It’s made of special materials that conduct electricity, so any static charge gets safely grounded.
What You’ll Need
First off, you gotta gather the right tools and materials. Here’s a list of what you’ll need:
- ESD Flooring: Obviously, you’ll need the flooring itself. Make sure you measure your space accurately and order enough to cover it with a little extra for cuts and mistakes.
- Adhesive: You’ll need a good-quality adhesive that’s compatible with your ESD flooring. Check the manufacturer’s recommendations for the best type to use.
- Trowel: A trowel is used to spread the adhesive evenly on the floor. Get one that’s the right size for your project.
- Roller: A roller helps to press the flooring down firmly onto the adhesive and remove any air bubbles.
- Utility Knife: You’ll use a utility knife to cut the flooring to size and trim the edges.
- Measuring Tape: Accurate measurements are crucial, so make sure you have a measuring tape handy.
- Pencil: Use a pencil to mark the floor where you’ll be cutting the flooring.
- Safety Gear: Don’t forget to wear safety gear, including gloves, safety glasses, and a mask to protect yourself from dust and fumes.
Preparing the Floor
The first step in installing ESD flooring is to prepare the floor properly. Here’s what you need to do:
- Clean the Floor: Remove any dirt, dust, grease, or debris from the floor. You can use a broom, vacuum cleaner, or a floor scrubber to clean the floor. Make sure the floor is completely dry before you start applying the adhesive.
- Repair Any Damage: If there are any cracks, holes, or uneven areas on the floor, you’ll need to repair them before you install the flooring. You can use a floor patching compound to fill in the cracks and holes. Make sure the repairs are completely dry before you proceed.
- Check the Levelness: Use a level to check if the floor is level. If the floor is not level, you may need to use a self-leveling compound to level the floor. Follow the manufacturer’s instructions carefully when using the self-leveling compound.
Applying the Adhesive
Once the floor is prepared, it’s time to apply the adhesive. Here’s how you do it:
- Read the Instructions: Before you start applying the adhesive, make sure you read the manufacturer’s instructions carefully. Different adhesives have different application methods and drying times, so it’s important to follow the instructions to ensure a proper installation.
- Mix the Adhesive: If the adhesive needs to be mixed, follow the instructions to mix it properly. Use a mixing paddle and a drill to mix the adhesive thoroughly.
- Apply the Adhesive: Use a trowel to apply the adhesive evenly on the floor. Start at one corner of the room and work your way towards the opposite corner. Make sure you apply the adhesive in a thin, even layer.
- Spread the Adhesive: Use the notched side of the trowel to spread the adhesive evenly on the floor. This will create ridges in the adhesive, which will help the flooring adhere better.
Installing the ESD Flooring
Now it’s time to install the ESD flooring. Here’s how you do it:
- Lay the Flooring: Start at one corner of the room and lay the first piece of flooring on the adhesive. Make sure the edges of the flooring are aligned with the walls or the previous piece of flooring.
- Press the Flooring Down: Use a roller to press the flooring down firmly onto the adhesive. Start at the center of the piece of flooring and roll towards the edges. This will help to remove any air bubbles and ensure a proper bond between the flooring and the adhesive.
- Cut the Flooring: Use a utility knife to cut the flooring to size. Measure the length and width of the area where you need to install the flooring, and then cut the flooring to fit. Make sure you leave a small gap between the flooring and the walls to allow for expansion.
- Install the Next Piece: Once you’ve installed the first piece of flooring, install the next piece adjacent to it. Make sure the edges of the two pieces of flooring are aligned and that there is no gap between them.
- Continue Installing the Flooring: Continue installing the flooring in this manner until you’ve covered the entire floor. Make sure you work in a systematic manner and that you don’t leave any gaps between the pieces of flooring.
Seaming the Flooring
If you’re installing ESD flooring in a large area, you may need to seam the flooring together. Here’s how you do it:
- Cut the Seams: Use a utility knife to cut the seams in the flooring. Make sure you cut the seams straight and that they are the same width as the seaming tape.
- Apply the Seaming Tape: Apply the seaming tape to the back of one of the pieces of flooring. Make sure the seaming tape is centered on the seam and that it extends beyond the edges of the flooring.
- Join the Seams: Place the other piece of flooring on top of the seaming tape and press it down firmly. Use a roller to press the seam down and ensure a proper bond between the two pieces of flooring.
- Seal the Seams: Use a seaming compound to seal the seams. Apply the seaming compound to the seam and use a putty knife to smooth it out. Make sure the seaming compound is completely dry before you walk on the floor.
Finishing Up
Once you’ve installed the ESD flooring, it’s time to finish up. Here’s what you need to do:
- Trim the Edges: Use a utility knife to trim the edges of the flooring. Make sure the edges are straight and that they are flush with the walls.
- Clean the Floor: Use a clean, damp cloth to clean the floor. Remove any excess adhesive or debris from the floor.
- Let the Floor Dry: Let the floor dry completely before you walk on it. The drying time will depend on the type of adhesive you used and the temperature and humidity in the room. Follow the manufacturer’s instructions for the recommended drying time.
Tips and Tricks
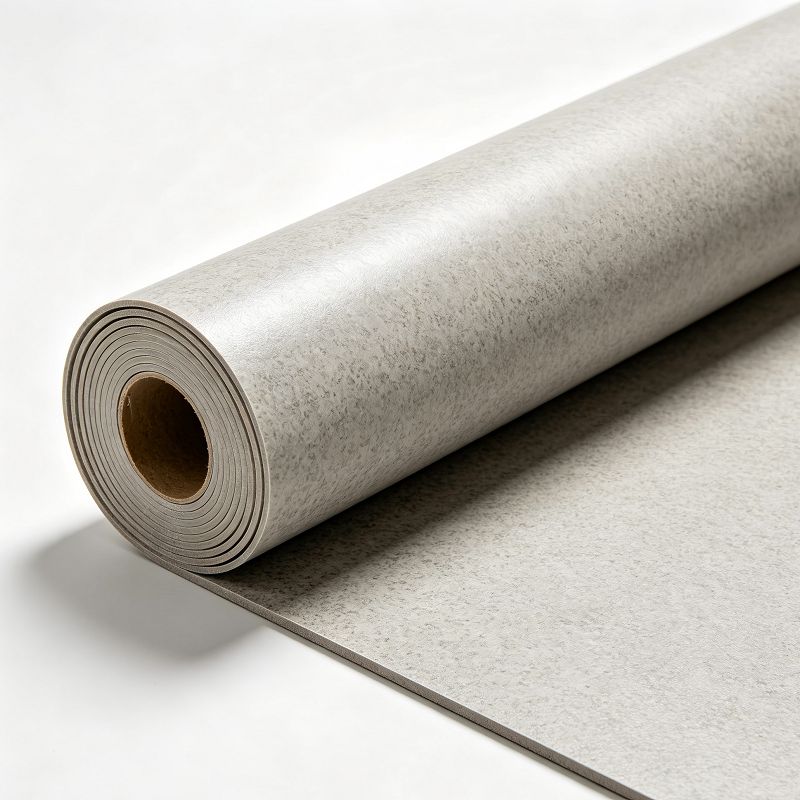
Here are some tips and tricks to help you install ESD flooring successfully:
- Work in a Well-Ventilated Area: Make sure the room where you’re installing the flooring is well-ventilated. Adhesives and seaming compounds can produce fumes, so it’s important to have good ventilation to avoid breathing in the fumes.
- Install the Flooring in a Temperature-Controlled Environment: ESD flooring should be installed in a temperature-controlled environment. The ideal temperature range is between 60°F and 80°F. Avoid installing the flooring in extreme temperatures or in areas with high humidity.
- Take Your Time: Installing ESD flooring is a time-consuming process, so take your time and do it right. Make sure you measure the floor accurately, cut the flooring to size, and apply the adhesive evenly.
- Use the Right Tools: Using the right tools is crucial for a successful installation. Make sure you have all the tools you need and that they are in good condition.
- Follow the Manufacturer’s Instructions: Always follow the manufacturer’s instructions when installing ESD flooring. Different types of flooring and adhesives have different installation methods and drying times, so it’s important to follow the instructions to ensure a proper installation.
Conclusion
Dance Flooring Installing ESD flooring yourself can be a challenging but rewarding project. By following the steps outlined in this blog and using the right tools and materials, you can install ESD flooring in your space and protect your sensitive electronic equipment from electrostatic discharge. If you have any questions or need further assistance, don’t hesitate to reach out. As an ESD flooring supplier, I’m here to help you with all your ESD flooring needs. Whether you’re looking to purchase ESD flooring, need advice on installation, or have any other questions, feel free to contact me for a purchase discussion.
References
- Various ESD flooring product manuals
- Industry guides on electrical safety and flooring installation
Qingdao Xinkailin Environmental Protection Materials Co., Ltd.
As one of the most professional esd flooring manufacturers and suppliers in China, we’re featured by quality products and good price. Please rest assured to buy premium esd flooring for sale here from our factory. Also, custom service is available.
Address: Room 618, Hedaxinduhui, No. 196 Tailiu Road, Shibei District, Qingdao City
E-mail: laura@xklflooring.com
WebSite: https://www.xklflooring.com/
